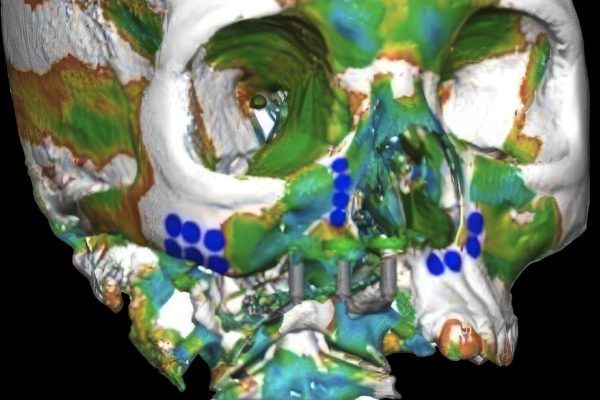
The process begins with 3D imaging and collaborative digital diagnosis to map your custom framework positioning.
Step 2
Step 3
Design
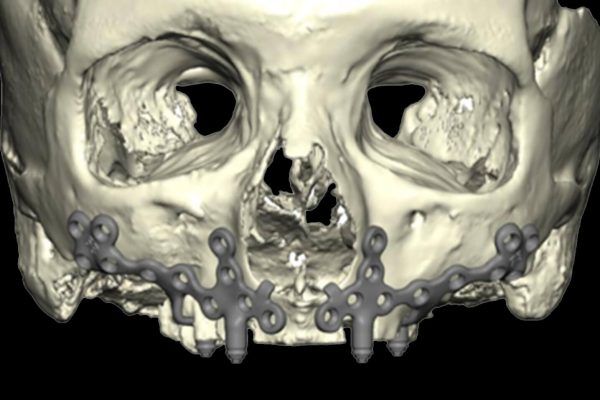
Using CAD, engineers and surgeons virtually model a device ensuring perfect anatomical fit.
Surgery
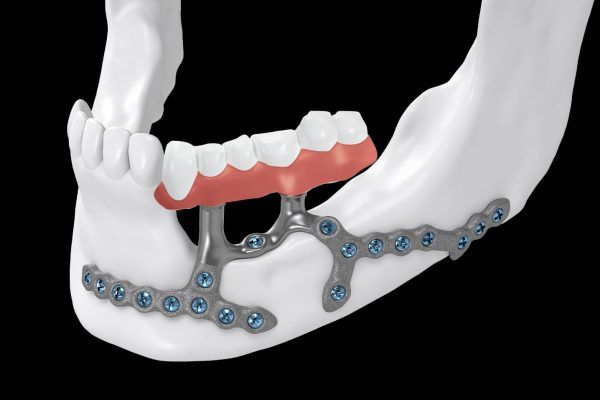
IPS Preprospectic® framework is rigidly fixated to the bone, providing an immediate, stable foundation for prosthetic loading.
Step 4
Step 5
Prosthesis Delivery
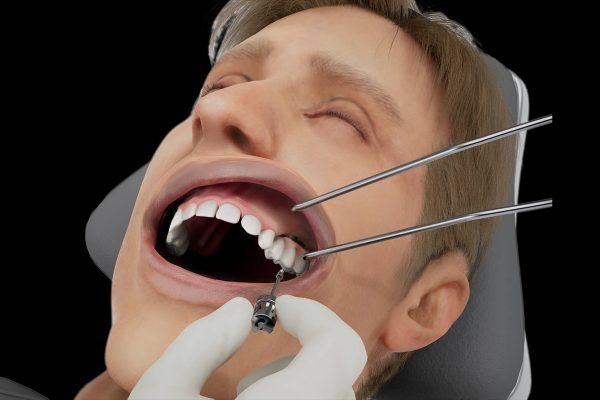
A pre-manufactured temporary prosthesis is attached to the framework MUAs, restoring function and aesthetics immediately after surgery.
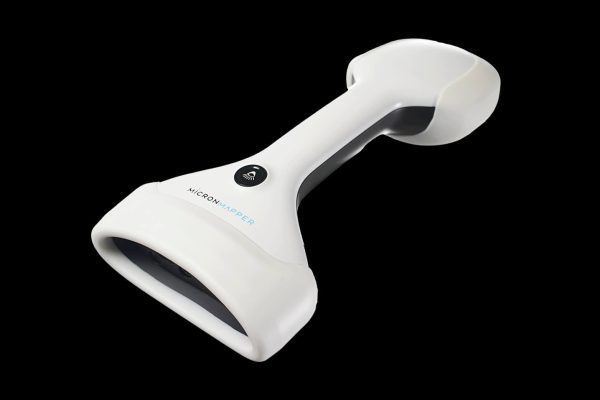
Photogrammetry
At 3-months post-op, a photogrammetry loaner program is available through KLS Martin to aid in digital impressions needed for final prosthesis fabrication.
Step 6
Step 7
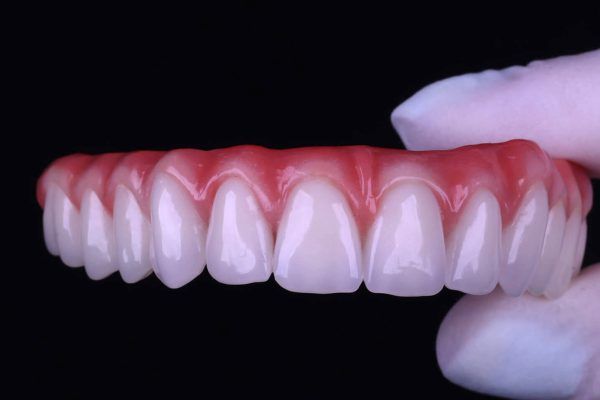
Final Prosthesis Delivery
The custom final prosthesis is delivered, completing the journey with a high-precision, long-term functional result.
Expert Testimonials
What Surgeons Are Saying
Leading oral and maxillofacial surgeons trust the IPS® Preprosthetic system to provide predictable, high-precision results for their most complex reconstructive cases.